Pages

Search All Things 40K

Friday, October 30, 2009

Slightly off-topic

My workplace had their Halloween costume party yesterday. Above is me in my costume. I'm normally quite introverted, but the beard took over yesterday and I strangely became quite the social butterfly.

That's my boss. I asked him what his costume was and he said "costume? what?"

Ah, competition for the coveted Billy Mays spot (mine is the magnificent beard on the right). We're cool though. In true Billy Mays spirit, we decided that we were a buy-one-get-one-free combo!

What great fun. Thought you guys might get a kick out of it.

On to 40K related stuffs...

There is another comic in the works, it's about half completed now, progress is slow. There were a few pics of the sketches and color tests floating around on my Twitter page.

Next step-by-step is a Dark Angels Dreadnought. Hopefully I'll have that up soon.

Another thing I've been mulling over is possibly partnering with someone for more content. I don't think I post nearly enough... but I know if I "just post more" the quality will go way down. Any thoughts/ideas on the matter? Keep it as is? Bring someone else on for more quality content?

Monday, October 19, 2009

Step-By-Step Tankbustas

On the workbench today is a unit of Tankbustas (complete with two Squigbombs). For me, Orks are always a joy to paint. I love their vicious-yet-silly nature, and I always discover details I didn't notice before during the painting process that make me laugh.

Step 1: Black Spray Basecoat
I'm going to do the flesh effects first, starting with the Squigbombs...

Step 2: Dheneb Stone
I've been playing with the idea of a 3-step skin process since Skulltaker (he was a 4-step, though ... but usually for Orks I had a 2-step). We're mixing it up here, continually testing ways to improve my methods while still keeping it relatively simple.

Step 3: Skull White drybrush
My old method was simply basecoat + wash. The added step is a drybrush highlight which goes before the wash... Playing off of the Dheneb Stone, Skull White is our highlight.

Step 4: Baal Red Wash
I did want reddish Squigs, but after finishing the test, I couldn't help but feel that it was too ... pink. I needed to darken this some...

Step 5: Devlan Mud wash
Ok, that looks awesome. So the squigs ended up being a 4-step process, but it came out pretty cool.

Next up, let's go for the Orks' skin.

Step 6: Gretchin Green Basecoat
I love foundation paints :)

Now, back when I was testing out Ork Skin effects a while ago, I had settled on Gretchin Green as a basecoat because it was yellowish. The yellow basecoat made a really cool effect with the Thraka Green Wash. Since it was the yellow aspect of the basecoat that convinced me, I decided that the highlight should be...

Step 7: Iyanden Darksun drybrush
In all of these, before adding a wash, it should look wrong. Trust me, you want it to look "too bright." If it looks right before the wash, you're going to end up with an effect that's too dark.

Step 8: Thraka Green Wash
Also pictured, a bottle of Hefeweizen. It had been a long day, don't ask ;)

Step 9: Calthan Brown
Following our 3-step, I'm basing all cloth I want to be brown. I had read a joke a long time ago about a sea captain who always wore a red shirt to a battle so his crew wouldn't see if he'd been wounded or not and keep up their morale. Punchline was when 40 pirate ships approached and he asked his mate to bring him his brown pants. This made me laugh a lot, and the mentality behind it makes me think of the Orks alot ... so I always paint their pants brown ;)

Step 10: Bubonic Brown drybrush
The Nob has an Imperial Officer's trenchoat bolted to his shoulder as a kind of cape. I'm painting it brown not to be lazy, but because it actually is the color I chose for my Imperial Guard. My officers with coats have red cuffs, so you'll see that I do incorporate that later.

Step 11: Devlan Mud wash
Man I love washes :)

Next up, any black leather.

Step 12: Charadon Granite basecoat
Charadon Granite is my go-to basecoat for anything black ... though depending on the tone of black you want, there are a few other basecoats you could use. This is for a greyscale black. You can use Orkhide Shade or Necron Abyss if you want a greenish black or a bluish black, respectively.

Step 13: Codex Grey drybrush
I paid special attention to the wrinkles in the leather.

Step 14: Badab Black wash
Sweet. Next up, a lighter brown cloth. I want it to look like it used to be a white shirt before a few years of no washing (I think I got a few of those in my closet).

Step15: Dheneb Stone
Notice that while I'm basecoating the cloth shirts, I also took this opportunity to hit the teeth.

Step 16: Gryphonne Sepia Wash
For the shirts, I laid it on heavy. For the teeth, mostly around the roots of the teeth.

Ok, at this point I became a bit impatient with the constant washes (I kept having to wait for them to dry). Probably the beer making me impatient, but it all worked out anyways. Basically I applied the base and highlights for anything that will use a Devlan Mud wash and saved the actual wash for last so I could hit them all at once.

Step 17: Tin Bitz
I like my orky metal to be dirty as hell. For this, I base it in Tin Bitz.

Step 18: Boltgun Metal drybrush (heavy)
...for everything you just hit with Tin Bitz.

Step 19: Shining Gold
There's one boy here who scored himself an Imperial Eagle shoulderpad, so I'm hitting it with gold to make it stand out from the rest of his metal.

Step 20: Mechrite Red
Some of the things we coated with metal are getting hit with Red, as my Orks are Evil Sunz.

Step 21: Blood Red drybrush
Since they're going to be washed, I need the red to be brighter than I would typically want. Notice on the Nob that the trenchcoat sleeves (and the little Officer's Hat on his belt) have been hit with red. The Cadian 221st will not suffer such insults! Expect to see some Ork skull trophies make their way into the Imperial Guard models, mark my words!

Step 22: Iyanden Darksun
Yellow is the other Evil Sunz color, so some other bits are getting hit with Yellow. Not all their stuff will be red and yellow, we're going to get a little touch of Goff palette in here.

Step 23: Skull White
While I had the white out, I got their eyes too.

Step 24: Chaos Black
Some checks, some spirals, rings, triangles, and not all on the white rockets. There are a few yellow rockets that I hit (not too much though, less they become the Bumblebee Boyz).

Step 25: Vermin Fur
I've found that Vermin Fur followed by a Devlan mud or even a Badab Black makes a great leather belt. That said, all the belts (they're everywhere!) above have been hit with Vermin Fur.

Step 26: Boltgun Metal
We had already done this color, but this time I'm doing two things. First, the beltbuckles for all those belts we just did. Secondly, a drybrush on any metal plates (or missiles) that we painted over with red, yellow or white. Seriously, scrape the hell out of them.

Step 27: Putrid (Scorpion) Green
For all the wires. These will also be hit with Devlan Mud, so don't worry about how bright they are at the moment.

Ok, we're finally ready for that wash, and if you've been following along, the anticipation of finally putting this wash on is killing me like a serious itch I've been trying to ignore. I'm looking at all these bright colors with no depth (and the beer's wearing off).

Step 28: Devlan Mud wash (heavy)
Oh man, that felt good. Aaaaaah. All metal, yellow, red, white and belts were hit with the wash. Man I feel relieved.

Step 29: Baal Red Wash
... for the eyes.

Awesome, the models are done. Time for the bases.

Step 30: Calthan Brown basecoat

Step 31: Sand
Glued down with PVA (Elmer's white) glue.

Step 32: Gryphonne Sepia Wash
Getting some depth in there, tying the sand in with the darker basecoat while also getting a bit of a red hue in there.

Step 33: Macharius Solar Orange
For my Orks, I prefer a rust colored landscape (like Mars) . Also, it plays well with my army's colors (red and yellow)

Step 34: Chaos Black
I got a little carried away while painting them (I blame the beer) and got some paint along the base rims. This last step is just to clean that up and make them look professional and clean again (at least as professional and clean as an Ork can look).

All in all, I'm very happy with the outcome. Most of all, I'm really happy with the way the ork skin came out. I'm definitely keeping that.

What did you guys think?

Wednesday, October 14, 2009

Eldar Autarchs

I'm long over-due on a tactics article, I know... Eldar won the poll a long time ago, and I haven't forgotten ;) The poll has been reset, so have at it!


Eldar Autarch (70 points)
WS 6, BS 6, S 3, T 3, W 3, I 6, A 3, Ld 10, Sv 3+

Fleet of Foot
He can assault after a run.

Master Strategist
While alive, you may choose to add 1 to your rolls for reserves, whether he is in play or not. If you are the type to reserve your units early game, this can be an extremely useful tool to have. Especially due to your ability to choose whether you add 1 to your rolls. This gives you a better ability to get units on the board when you need them without hindering any stalling actions you may take in order to survive for a late game objective-grab.

Forceshield
4+ Invulnerable Save

All this paints a good picture for an HQ choice. Let's compare him to the other HQ choices.

The most common HQ selection in an Eldar army is a Farseer. Their selection of powers (be it character sniping or much needed support abilities like Doom, Guide or Fortune) make them an extremely valuable choice. Compared to a Farseer, it would be hard to choose an Autarch; they serve a much more specific role, while a Farseer can act in a variety of roles. An Autarch's available wargear options allow him to bolster a unit with like equipment.

The Avatar: A great way to get a Monstrous Creature on the table, but also a target. Autarchs and Farseers are better able to shield themselves and remain survivable by joining units.

Phoenix Lords: Extremely expensive and rarely worth the cost. In an army where your units are mostly overpriced (especially compared to the newer codices) every point counts.

While not an essential unit, he does serve specific roles and will perform well with certain strategies

Options
With the amount of wargear available to them, there are a good amount of possibilities for roles they can play. Let's discuss a few of his equipment choices:

Mobility

Swooping Hawk Wings - The cheapest option for mobility (20 points), this is probably your best choice on a budget.

Warp Jump Generator - At 25 points, this does allow you an extra move during the Assault Phase, but there is that pesky chance of you dying in the attempt. Land in impassable terrain, and you die. Roll a double and one model in the unit dies. It is imperative that if you take this option, you attach him to a unit of Warp Spiders. If you don't, you risk losing your Autarch to a bad roll, or if you attach him to some other unit, you may as well have given him another mobility option. I think it is worth noting that the move is 'up to 2d6"...'. Thus the chances of this happening are minimal. The only time I can see it is if you're base to base with a piece of impassable terrain and roll badly. (Dverning of Maunderings of a 40K Gamer)

Eldar Jetbike - The most expensive of the mobility options (30 points). This does give you a lot, though. You get the Eldar Jetbike's 6" assault phase move without the hazards of the Warp Jump Generator, an increased Toughness and the ability to fire heavy weaponry on the move *cough*ReaperLauncher*cough*. If on a jetbike, make sure you get a jetbike "retinue" of sorts. Shining Spears, jetbike Guardians, even a unit of Warlocks on jetbikes. Don't leave him alone, or you'll lose your Autarch fast.

Mask Options

Banshee Mask - 3 points. Slightly more useful in an assault than the plasma grenades that come standard with the unit. Probably why it's only 3 points.

Mandiblasters - 10 points. +1 Attack? Sign me up.

Single Handed Weapons

Power Weapon - 10 points. While awesome, you do still only have an S 3, which is not ideal ... though it would allow you to assist a unit of Banshees (anti-armour role), and if combined with Mandiblasters will even allow him to assist a unit of Scorpions (anti-horde role).

Scorpion Chainsword - 5 points. +1 S, though... so it's certainly something to consider. With no armor negating like with the Power Weapon, you will be limited to anti-horde, as an armored foe will resist most of your attacks.

Laser Lance - 20 points. This is only available if on a jetbike. In any turn where you initiate the assault (and if on a jetbike, you should be the one initating), it counts as a S6 Power Weapon. It can also be used as a ranged weapon with the profile: Range 6", S 6, AP 4, Assault 1, Lance. That gives you a great 1-2 punch in an assault. If you're thinking along these lines, you should be taking another jetbike group as a kind of retinue. Putting a Laser Lance Autarch with Shining Spears is an additive choice. He does the exact same thing the unit does. (Well, except HE gets plasma grenades...) Said another way, he makes the unit stronger and hit harder, but they're still stuck with the same target preferences.
Putting a Laser Lance Autarch with CC-oriented Warlocks on Jetbikes is a complimentary choice. The Warlocks have a bunch of advantages to hit and wound, but don't negate saves. Where they suffer is against guys with heavy armour. The LL Autarch really shores up this weakness. Plus, he gains a benefit from them of having other Inv saves to throw wounds on, Enhance for the extra WS and I, likely Fortune for extra saves... It's a win-win both ways. (Dverning of Maunderings of a 40K Gamer)

Two Handed Weapons

I'm going to cut to the chase here and talk about the two guns worth taking: The Fusion gun and the Reaper Launcher. The Fusion gun (10 points) is a great gun for any situation. It's a great pre-assault target softener, serves beautifully in any of the mid-close range roles of units the Autarch is bolstering, and is even great on a Jetbike for vehicle hunting roles. The Reaper Launcher (25 points) is the more limited as it is a heavy weapon. Either you've delegated your Autarch to the role of a long range (albeit accurate) cheerleader, or you're taking advantage of the jetbike's ability to shoot on the move.

Roles

Mid to close range - One role I've seen and utilized my Autarch in is with the combination of Swooping Hawk Wings, Mandiblasters, Power Weapon and Fusion Gun (120 points). He moves where the fighting is thickest, and bolsters units in preparation of an assault. The Mandiblasters assists in anti-horde capacity by increasing his attacks, the Power Weapon allows him to assist in anti-elite capacity (ignores armour and the increasingly present Feel No Pain rule). The Fusion gun is great anti-vehicle and anti-elite.

Mid to Long range - Eldar jetbike, Laser Lance, Reaper Launcher (145 points). Usually buried in a jetbike squad (either Guardians with Shuriken Cannons, or Shining Spears). With the Guardian Jetbikes, you've got a mobile firing base of Shuriken Cannons and now a Reaper Launcher. Also, some punch in case you need to clean up in an assault. With the Shining Spears, they'll act like more of a retinue, allowing you to move where you need to, counter-assault, etc. They become a wild card that you can keep in your back pocket firing Reaper missiles until you need a charge of S6 Power Weapons.

One of my favourite combos for the autarch is power weapon, mandiblaster and fusion gun; total cost 100 points. He's usually attached to a unit travelling in a wave serpent (hence the lack of wings or jump generator), and I use him for two roles mainly: 1st and most important, helping my reserves appear sooner (I tend to play leaving most of my stuff in reserve) and acting as a subtle threat to any vehicle or not super-uber unit in the game, being able to reach almost any point of the table in one or two turns (wave serpent + star engines = Eldar Ferrari). With a proper escort he can deal with space marine units (banshees) or horde armies (storm guardians with flamers + warlock with destructor). This second attachment is my favourite for its versatility and cheapness, and also because few people consider guardians a threat and usually end the battle complaining about them! (Juahn F'rann of The Star Vagabonds)


I could carry on about the multitude of tactical options available to you when on an Eldar Jetbike, but I think you would be better served with this: The Way of Saim-Hann. Welcome to Fritz's blog, where 85% of his posts cover the finer points of Eldar Jetbike tactics. He has already covered it in detail far better than I can here.


Prince Yriel

(It had originally slipped my mind that Yriel should be covered here in the Autarch post until reminded by Raptor1313. Thankfully, Dverning not only wrote up a post about Yriel - here- but gave permission to grab anything I found useful. Much appreciated. I'm posting the overview and Basic Tactics here, but to see the Advanced Tactics section, you'll have to go check out his post)

Prince Yriel is a touch more expensive than a tooled-out Autarch and is even with the Avatar in cost. This makes him the lowest priced Named Unit in the Eldar Codex. By background he's supposed to be unique to the Iyanden Craftworld, but his usefulness on the battlefield has spawned a number of "counts as" likenesses. He's basically a cross between a Warlock and an Autarch and this is supported by both Fluff and rules.

Stats: Yriel has the same stats as a normal Autarch, but at +1 Attack and Initiative. The biggest item worth noting that he is only T3; he's not too hard to wound and will Instant Death against anything S6 and above.

Skills:
Master Strategist: Taken straight from the Autarch's rule, this gives any army he is with an optional +1 to any Reserves rolls. Additionally, this entry and his army list name are the only non-background places that mention him as an "Autarch". This is important to remember if you want him to benefit from Exarch Powers.
Doomed: At the end of every game he takes an auto-wound from his weapon but gets a 4++ save against it. This rule is really just an annoyance and many players tend to forget about it. I find Yriel rarely ends a game with only 1 wound left; typically he's either unscathed or died gloriously around Turn 4.

Equipment:
Forceshield: Gives a 4++ Invulnerable save to go with his 3+ armour.
Plasma Grenades: Allows him to charge into cover.
The Spear of Twilight: One of the biggest problems with Eldar CC is that they're usually S3, don't ignore armour saves, or don't hit at Initiative (especially charging into cover). Yriel with his Spear of Twilight is one of the few exceptions. Running a WS of 6, hitting at I7, carrying plasma grenades, throwing 5 attacks on the charge, wounding anything on a 2+ and ignoring armour saves... Wow. Yriel is happy chewing through Marines or cutting down the biggest of monstrosities. The weapon is also decent in CC against tanks and Dreadnaughts as it hits at S9. The downside is that this is serious overkill against light targets and horde players will probably be unfazed.
As if the CC weren't enough, it can also be thrown in the Shooting Phase like a normal Singing Spear. This is commonly Yriel's best way to drop a mobile tank due to his higher chance to hit.
The Eye of Wrath: This weapon is a hold-out bomb for when he's surrounded by the enemy. Being S6 and AP3, it is most effective against basic Marines. Note that it hits everyone in the area, be they friend of foe.
Basic Tactics:
Yriel's biggest drawback is that he's a mainly CC unit that's stuck on foot. Since you can't always rely on the enemy coming to you, he's best served with a bodyguard that both protects him and wants to close with the enemy.
On foot, he is well suited with Wraithguard, Harlequins, or a Warlock Bodyguard. His presence can be a great way to attract extra enemy attention, especially for a fire sponge like Fortuned Wraithguard.
Running a Wave Serpent offers extra mobility as well as protection. Complimentary units include mech Wraithguard, Scorpions, Banshees, Dragons, Storm Guardians, or Warlock Council. It's also possible to run him with Serpent of Fury Dire Avengers, but not optimal as they tend to prefer a bit more distance from the enemy.
In either of these cases he can provide a nice bit of normal CC power. However, The Eye of Wrath has created an amusing tactic known as "Yriel Bomb". Yriel is escorted by his bodyguard towards the enemy similar to a Goblin Fanatic. When close enough to charge he disengages from his bodyguard, charges in solo, lets the enemy surround him with Defenders React, and then sets of his explosion.
This will typically kill off the majority of any target squad. Downside is that the return fire is often an angry Marine Sergeant with a powerfist. Yriel has a good chance of weathering this on his own, but Fortune can minimize his risk of Instant Death. Then he'll often see the rest of the unit off with No Retreat! wounds. But even easier? Just Doom the target. A 2+ to wound with re-roll and no saves rarely leaves survivors to hit back.
Just be warned... opponents WILL remember a tactic that causes this much carnage. Expect Yriel and his unit to be a priority target or avoided by anyone who knows better. (Dverning of Maunderings of a 40K Gamer)

Dverning wrote up an Advanced Tactics section as well. You can find it in his original post here.

----------------

Have you used an Autarch? What builds and what roles have worked/ not worked for you?

Monday, October 12, 2009

Step-by-Step Fire Warrior

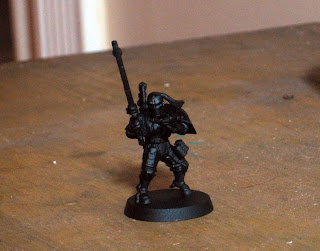
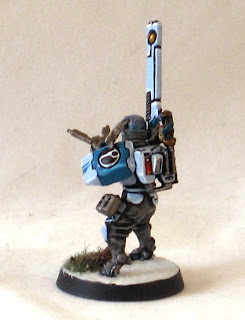
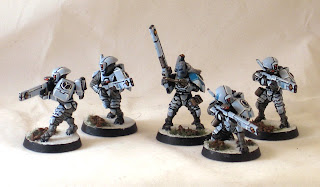
On the workbench today are some Tau Fire Warriors I've been meaning to get done for a long time. A while back I had decided, due to my hatred of orange as a main color, to go with the Bork'an Sept described in the Codex. I liked the fluff, I liked the colors, all was well with the world. Fast forward to painting my first fire warrior, and lo - the Codex lied to me! They showed me a cool off-white armor with teal sept markings, and told me that the color scheme was Space Wolves Grey and Hawk Turquoise. Well, what you see above is Space Wolves Gray and Hawk Turquoise, and it's NOT the scheme pictured in the book. Theirs is much closer to white.

Regardless, I ended up liking my scheme better, and have stuck with it. ;)

On to the step-by-step:


Step 1: Black Primer

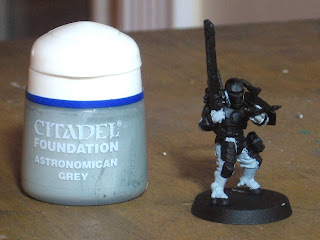
Step 2: Basecoat of Astronomican Grey
The cloth will end up darker than the armour, and we're going to achieve it with a two step process...

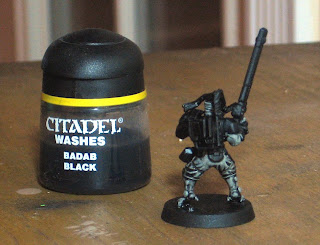
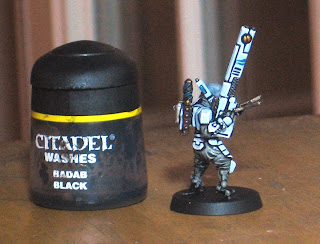
Step 3: Badab Black Wash (heavy)
Lookin' good. Next up, the skin.

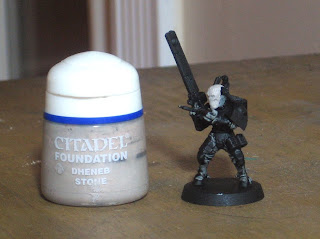
Step 4: Dheneb Stone basecoat
I fiddled around with a few different schemes to get a good blue flesh, and the one I ended up settling on had this cream color as a base. You end up with a cool effect that I thought looked very real and organic.

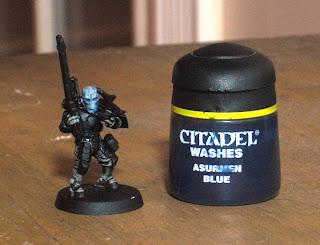
Step 5: Asurmen Blue wash
See what I mean? I tried this with a base of grey or even white instead of the cream, and it looked ... bland. I don't know, there's something about the two-tone look here that makes him look more alive.

On to the armour...

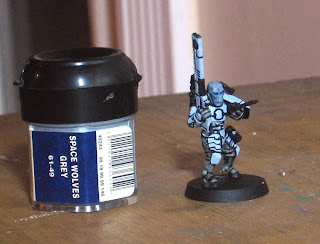
Step 6: Space Wolves Grey basecoat
I don't know about your experiences with this paint colour, but for me, this is almost eligible for Foundation Paint status in how well it goes down. What you see above is ONE COAT ... on BLACK. It goes down well, is what I'm saying.

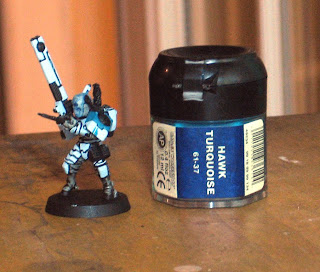
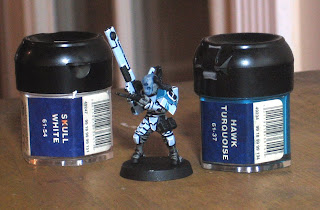
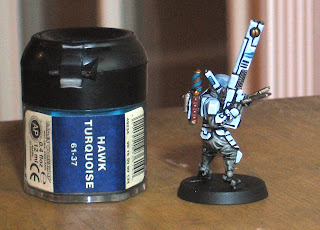
Step 7: Hawk Turquoise
The model I'm using is a Shas'ui (equivalent of a Sergeant, for anyone not fluent in Tau), so his shoulder guard is getting a section of the sept colour, as well as the squad markings.

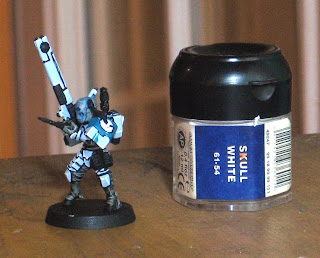
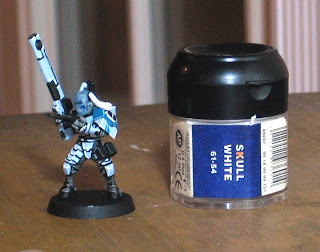
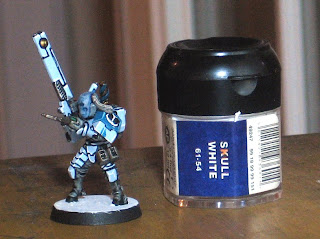
Step 8: Skull White highlight
The Tau are the only army I'm currently collecting that I'm actually ok with an armour finish that doesn't have a wash. The high-contrast look comes off very clean and sharp, and that's an effect that I think suits the Tau very well.

In addition to edging the armour, You'll notice I've gotten the white in the Empire badge on his shoulder guard. The areas that will be black are embossed, so don't worry if it looks sloppy at this stage...

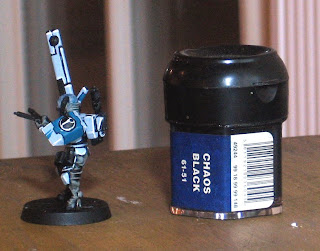
Step 9: Chaos Black
Here's where you carefully hit the raised areas on the Empire badge, making sure the black doesn't get into the crevices where the white is.

Step 10: 1:1 mix of Skull White : Hawk Turquoise
This is a highlight for the armour edge on the shoulder guard panel painted Hawk Turquoise.

Step 11: Skull White Base Coat
I want my Shas'ui team leader to be a veteran, and thus I've decided I want his hair grey.

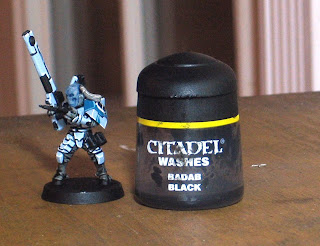
Step 12: Badab Black wash
Nice and old.

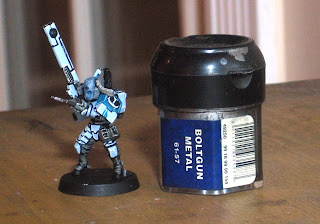
Step 13: Boltgun Metal
This is going on the grenades, bits of the backpack, gun's sight, hand-rest and barrel tips, and the drone controller.

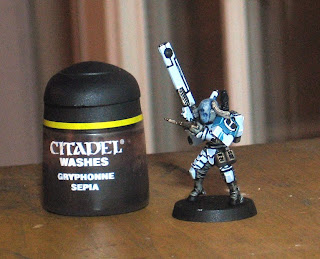
Step 14: Gryphonne Sepia wash
This is for the grenades and the drone controller. It gives an interesting and alien metallic effect that I like.

Step 15: Shining Gold
For the thing at the end of the Pulse Rifle (do you know what it is? Does anybody? I'm pretty sure the Tau don't even know what that dongle-thing is).

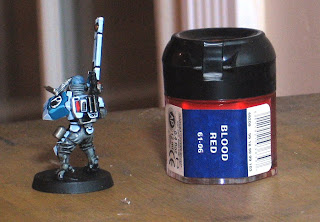
Step 16: Blood Red
This is a 4-step process that I use for gems, lenses, etc. You can use this for any color scheme. On the Tau, I use red to contrast with their cool colors, and this is being applied to the gun scope lense, a panel on the backpack that I use as an energy level readout, and the helmet lenses. While I'm starting with Blood Red, if you want another color, the first step is the mid-tone color.

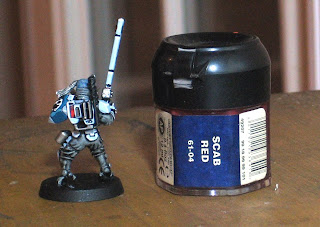
Step 17: Scab Red
Next up in this effect is a darker version of the first color. For red, it's Scab Red. You apply this to the side of the object that is facing the lightsource (generally at the top).

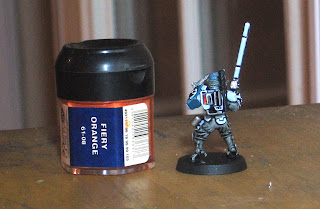
Step 18: Fiery Orange
This step is the bright highlight of the base color. For red, I've chosen Fiery Orange. You apply this to the opposite side of the object as the dark color (away from the light source).

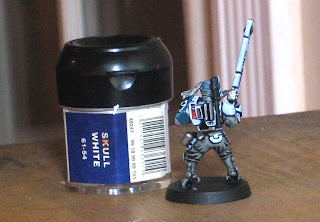
Step 19: Skull White
The last step is a spot of white where the light is actually hitting the object (in the middle of the dark area). This is the reflection spot off of a semi-transparent surface. The light that enters the object then reflects off of the inside opposite surface. This is why it is brighter in shade on the opposite side of the object from where the light hits.

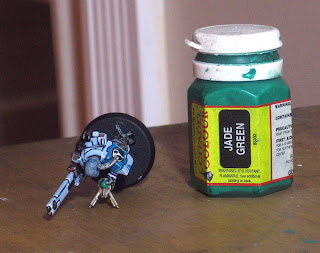
Step 20: Jade Green (Snot)
I have an old bottle of Jade Green that is no longer in production. A good current equivalent is Snot Green.

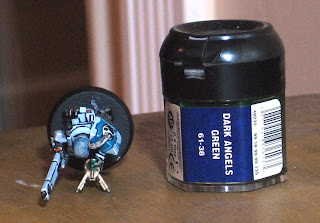
Step 21: Dark Angels Green
I want his drone controller screen to be dark with a halo of green, which is why I've only applied the DA green to the center.

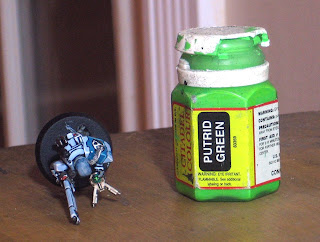
Step 22: Putrid Green (Scorpion)
This is another out of production colour. They've renamed it Scorpion Green. All I've done here is draw a glyph and a few dots on the screen to make it look like a "screen" and not a gem/lens.

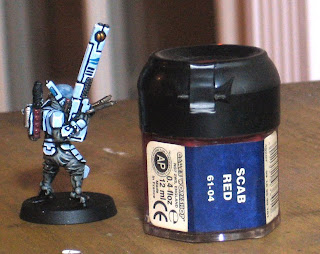
Step 23: Scab Red
We're working on the bonding knife here, and I want a deep red and gold effect with the sept color on the hilt's ribbon.

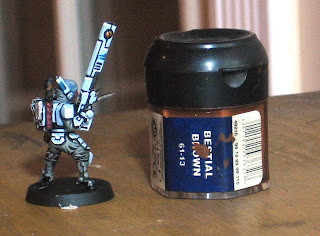
Step 24: Bestial Brown
This is for the handle (in between the ribbon).

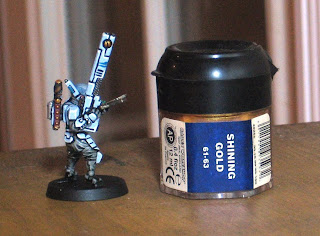
Step 25: Shining Gold
The hilt, pommel, and sheath studs are all in gold.

Step 26: Hawk Turquoise
For the ribbon.

Step 27: Badab Black wash
Bringing some depth to the bonding knife.

The model is done now, on to the base. For the Bork'an Tau, I've gone with a snow theme to fit their armour.

Step 28: Skull White
When we put the snow down, without this basecoat, it will look like sludge. Seriously.

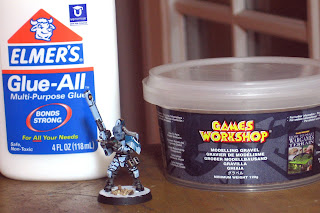
Step 29: Gravel
I've glued down some rocks to break up the terrain a bit.

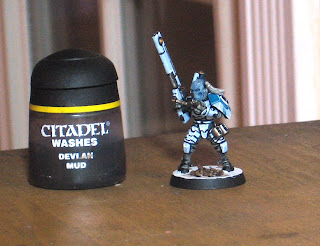
Step 30: Devlan Mud wash
Not only for the gravel, but I've put it on the white where I want the grass to be.

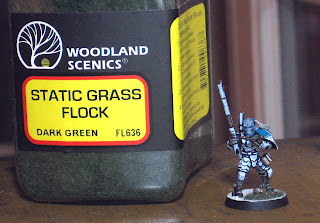
Step 31: Static Grass
Glued down around the rocks

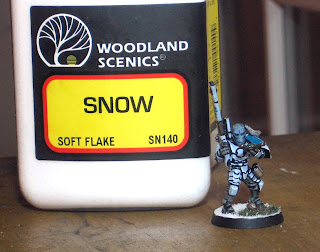
Step 32: Snow
It's a cool flaky powder ... but just glued down, it looks like he's standing in a pile of Sweet n' Low. The best way to alleviate that is...

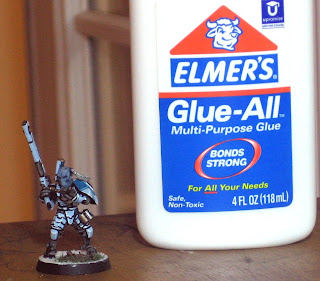
Step 33: Watered down PVA glue
Put this over the snow, and it will flatten it out a bit, yet still keep that snowy sheen.

Awesome, now to do the same to the rest!


Let me know what you guys think. Was this useful? Do you have any simple methods for similar effects?
Related Posts with Thumbnails

Google Analytics