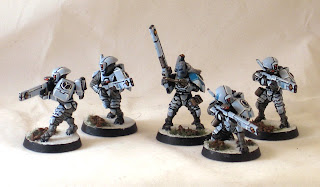
 On the workbench today are some Tau Fire Warriors I've been meaning to get done for a long time. A while back I had decided, due to my hatred of orange as a main color, to go with the Bork'an Sept described in the Codex. I liked the fluff, I liked the colors, all was well with the world. Fast forward to painting my first fire warrior, and lo - the Codex lied to me! They showed me a cool off-white armor with teal sept markings, and told me that the color scheme was Space Wolves Grey and Hawk Turquoise. Well, what you see above is Space Wolves Gray and Hawk Turquoise, and it's NOT the scheme pictured in the book. Theirs is much closer to white.
Regardless, I ended up liking my scheme better, and have stuck with it. ;)
On to the step-by-step:
Step 1: Black Primer
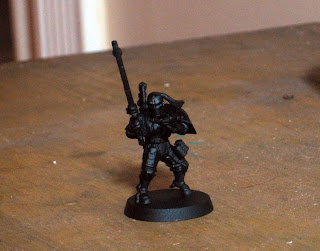
Step 2: Basecoat of Astronomican Grey
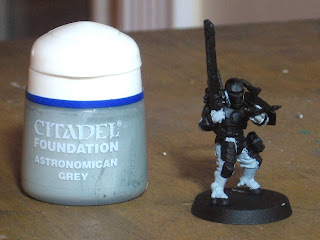 The cloth will end up darker than the armour, and we're going to achieve it with a two step process...
Step 3: Badab Black Wash (heavy)
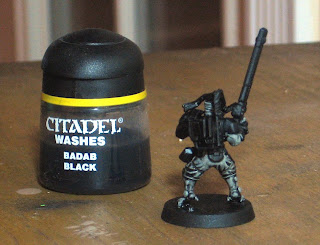 Lookin' good. Next up, the skin.
Step 4: Dheneb Stone basecoat
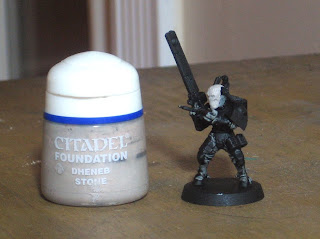 I fiddled around with a few different schemes to get a good blue flesh, and the one I ended up settling on had this cream color as a base. You end up with a cool effect that I thought looked very real and organic.
Step 5: Asurmen Blue wash
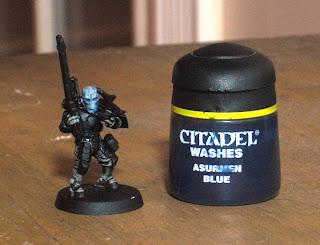 See what I mean? I tried this with a base of grey or even white instead of the cream, and it looked ... bland. I don't know, there's something about the two-tone look here that makes him look more alive.
On to the armour...
Step 6: Space Wolves Grey basecoat
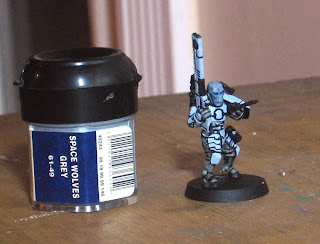 I don't know about your experiences with this paint colour, but for me, this is almost eligible for Foundation Paint status in how well it goes down. What you see above is ONE COAT ... on BLACK. It goes down well, is what I'm saying.
Step 7: Hawk Turquoise
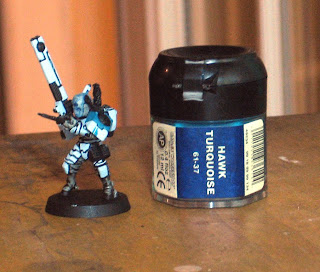 The model I'm using is a Shas'ui (equivalent of a Sergeant, for anyone not fluent in Tau), so his shoulder guard is getting a section of the sept colour, as well as the squad markings.
Step 8: Skull White highlight
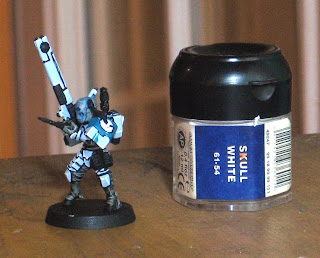 The Tau are the only army I'm currently collecting that I'm actually ok with an armour finish that doesn't have a wash. The high-contrast look comes off very clean and sharp, and that's an effect that I think suits the Tau very well.
In addition to edging the armour, You'll notice I've gotten the white in the Empire badge on his shoulder guard. The areas that will be black are embossed, so don't worry if it looks sloppy at this stage...
Step 9: Chaos Black
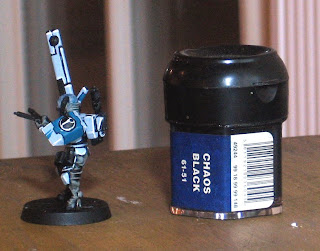 Here's where you carefully hit the raised areas on the Empire badge, making sure the black doesn't get into the crevices where the white is.
Step 10: 1:1 mix of Skull White : Hawk Turquoise
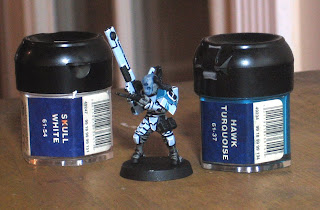 This is a highlight for the armour edge on the shoulder guard panel painted Hawk Turquoise.
Step 11: Skull White Base Coat
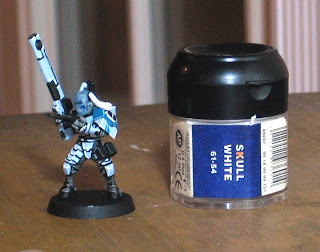 I want my Shas'ui team leader to be a veteran, and thus I've decided I want his hair grey.
Step 12: Badab Black wash
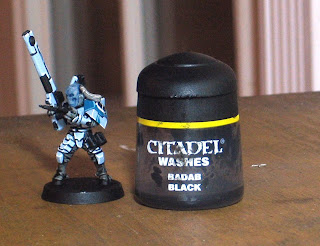 Nice and old.
Step 13: Boltgun Metal
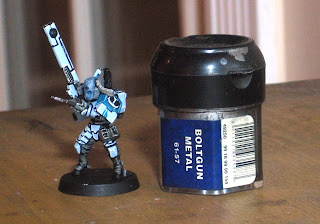 This is going on the grenades, bits of the backpack, gun's sight, hand-rest and barrel tips, and the drone controller.
Step 14: Gryphonne Sepia wash
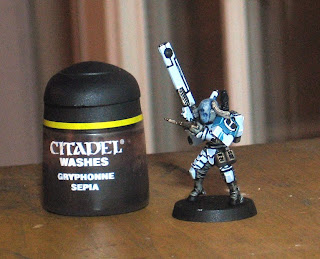 This is for the grenades and the drone controller. It gives an interesting and alien metallic effect that I like.
Step 15: Shining Gold
 For the thing at the end of the Pulse Rifle (do you know what it is? Does anybody? I'm pretty sure the Tau don't even know what that dongle-thing is).
Step 16: Blood Red
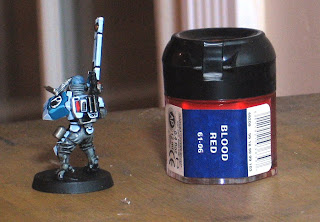 This is a 4-step process that I use for gems, lenses, etc. You can use this for any color scheme. On the Tau, I use red to contrast with their cool colors, and this is being applied to the gun scope lense, a panel on the backpack that I use as an energy level readout, and the helmet lenses. While I'm starting with Blood Red, if you want another color, the first step is the mid-tone color.
Step 17: Scab Red
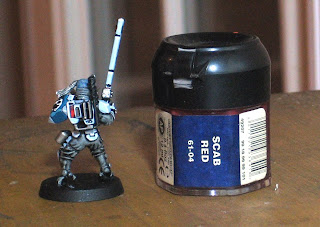 Next up in this effect is a darker version of the first color. For red, it's Scab Red. You apply this to the side of the object that is facing the lightsource (generally at the top).
Step 18: Fiery Orange
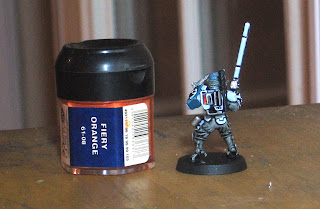 This step is the bright highlight of the base color. For red, I've chosen Fiery Orange. You apply this to the opposite side of the object as the dark color (away from the light source).
Step 19: Skull White
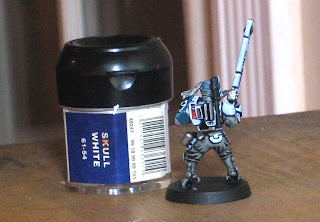 The last step is a spot of white where the light is actually hitting the object (in the middle of the dark area). This is the reflection spot off of a semi-transparent surface. The light that enters the object then reflects off of the inside opposite surface. This is why it is brighter in shade on the opposite side of the object from where the light hits.
Step 20: Jade Green (Snot)
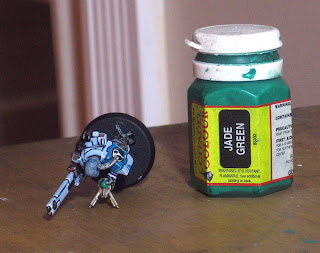 I have an old bottle of Jade Green that is no longer in production. A good current equivalent is Snot Green.
Step 21: Dark Angels Green
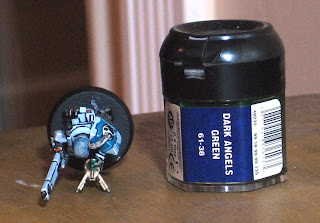 I want his drone controller screen to be dark with a halo of green, which is why I've only applied the DA green to the center.
Step 22: Putrid Green (Scorpion)
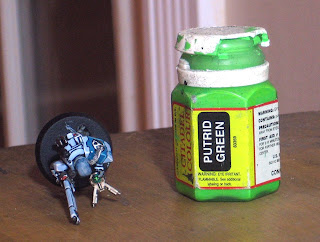 This is another out of production colour. They've renamed it Scorpion Green. All I've done here is draw a glyph and a few dots on the screen to make it look like a "screen" and not a gem/lens.
Step 23: Scab Red
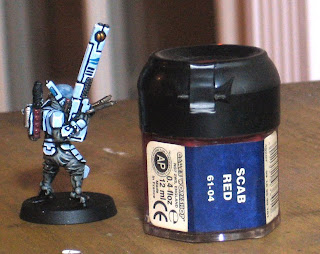 We're working on the bonding knife here, and I want a deep red and gold effect with the sept color on the hilt's ribbon.
Step 24: Bestial Brown
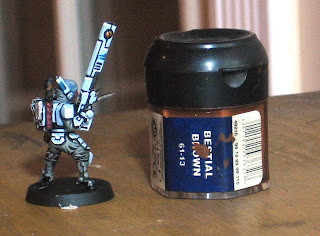 This is for the handle (in between the ribbon).
Step 25: Shining Gold
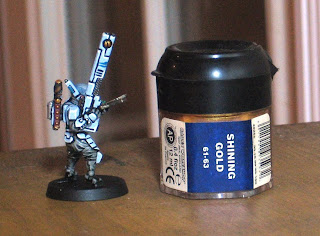 The hilt, pommel, and sheath studs are all in gold.
Step 26: Hawk Turquoise
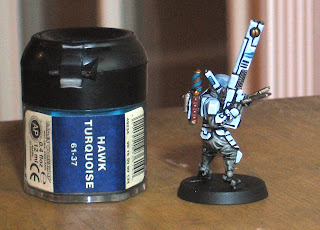 For the ribbon.
Step 27: Badab Black wash
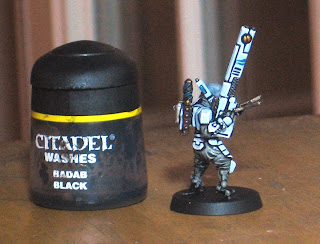 Bringing some depth to the bonding knife.
The model is done now, on to the base. For the Bork'an Tau, I've gone with a snow theme to fit their armour.
Step 28: Skull White
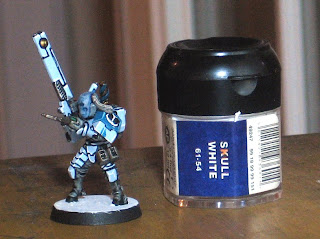 When we put the snow down, without this basecoat, it will look like sludge. Seriously.
Step 29: Gravel
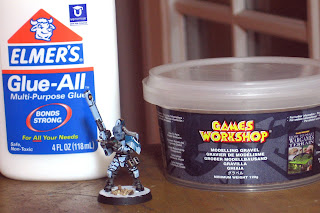 I've glued down some rocks to break up the terrain a bit.
Step 30: Devlan Mud wash
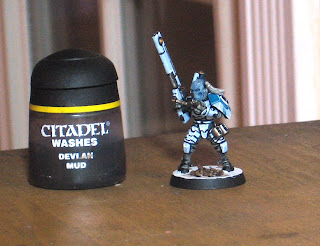 Not only for the gravel, but I've put it on the white where I want the grass to be.
Step 31: Static Grass
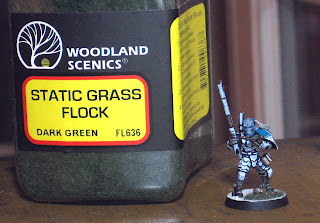 Glued down around the rocks
Step 32: Snow
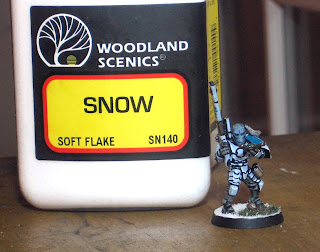 It's a cool flaky powder ... but just glued down, it looks like he's standing in a pile of Sweet n' Low. The best way to alleviate that is...
Step 33: Watered down PVA glue
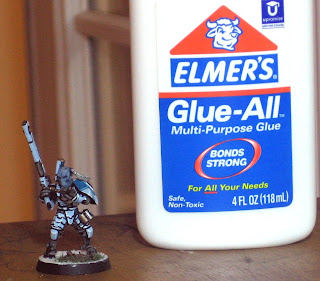 Put this over the snow, and it will flatten it out a bit, yet still keep that snowy sheen.
Awesome, now to do the same to the rest!


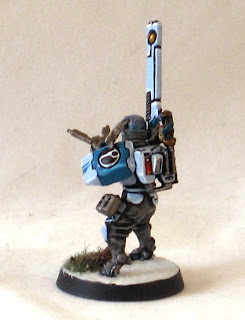
Let me know what you guys think. Was this useful? Do you have any simple methods for similar effects?