 I went for a slightly different take on GW's Fire Dragons. I didn't like how bright the orange-red body-suit was, so I decided to darken it up a bit.
Step 1: Basecoat

Step 2: Iyanden Darksun
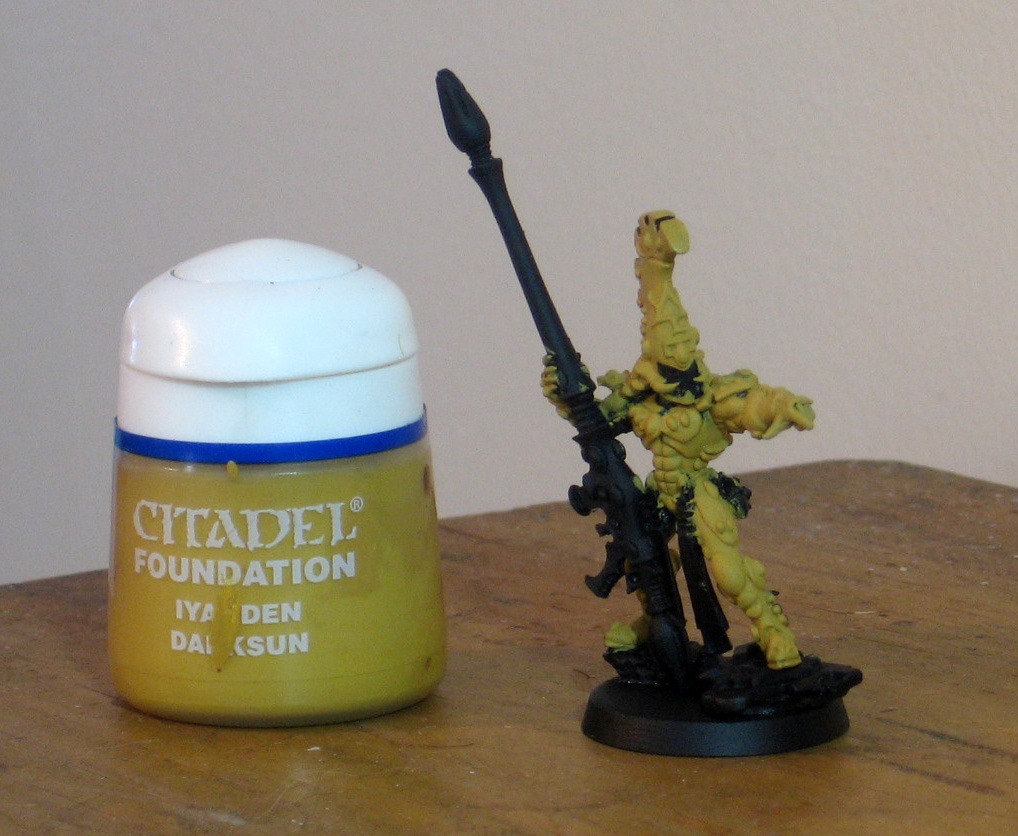 I was going to be dealing with yellows here, so I wanted a good foundation paint to go down first to make this easier.
Step 3: Golden Yellow
 I wasn't worried about edging here, just get it all over where the foundation paint was.
Step 4: Baal Red
 This might be where I'd stop for the kind of look that the GW site generally shows for them.
 Step 5: Devlan Mud
 I washed both the body and the helmet. At this point, the main body armor is done.
Step 6: Golden Yellow
 I re-worked the helmet up, staying out of the crevices.
Step 7: Sunburst Yellow
 This was to really make that yellow helmet pop, contrasting with the darkened body armor.
Step 8: Charadon Granite
 This was used on the gun and the face-plate as a base.
Step 9: Fortress Grey
 I highlighted the areas based in Charadon Granite. I built bright with the intention of washing down... but first another color that will be washed.
Step 10: Brazen Brass
 For the business end of that Firepike.
Step 11: Badab Black
 Here we go. I washed the gun, faceplate and brass bit on the end. The main colors are mostly done; the rest is all detail work to bring the model more to life.
Step 12: Boltgun Metal
 Normally, I'd wash this area in black as well, but there's a different effect I like for my Eldar metallic weaponry...
Step 13: Gryphonne Sepia
 This was washed over the metal bits. Note that I did not wash this over the tank-treads he's standing on, just the gun's metal bits.
Step 14: Hawk Turquoise
 Adding some color for the groin flags. Sorry, I don't know what else to call them, lol.
Step 15: Bleached Bone / Hawk Turquoise
 The highlight for the groin flags was a 1:1 mix of the two paints.
Step 16: Shining Gold
 This was for the casings around gems as well as for the clasps on the groin flags. Why not, right? Might as well make them the blingest groin flags out there. Haters gonna hate.
Step 17: Codex Grey
 This is a basecoat for the rocks he's standing on.
Step 18: Skull White
 This was drybrushed lightly over the rock. You want an uneven grainy texture to it.
Step 19: Devlan Mud
 This was washed over the gold bits, the rock and the tank tread piece he's standing on.
Ok, let's get started on all those gems...
Step 20: Enchanted Blue
 Basecoat for any blue gems.
Step 21: Regal Blue
 I added a dark upper section to the blue gems.
Step 22: Ice Blue
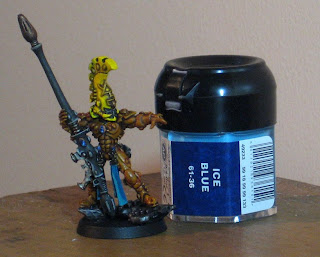 A highlight line in the lower section of the blue gems.
Step 23: Snot Green
 GW's scheme for the gems on the helmets were alternating red and green, which I kinda dug. Green gems were based in Snot Green.
Step 24: Dark Angels Green
 This was the dark section for the green gems.
Step 25: Scorpion Green
 This was the highlight line for the green gems. Also, I did the eye-lenses while I had this out.
Step 26: Blood Red
 This was the base for the red gems.
Step 27: Scab Red
 This was the darker area for the red gems.
Step 28: Fiery Orange
 This was for the highlight line in the red gems.
Step 29: Skull White
 I applied a small dot of white in the midst of the dark section of each gem.
Step 30: Chaos Black
 This was for the large rune on his helmet, though you could leave it yellow if you liked the way the previous step looked.
Step 31: Bleached Bone
 This was for those funny little tabs on the wrists and ankles that all the Eldar seem to have. I've been keeping them bone colored across the whole army really for no reason other than consistency's sake.
With the model done, there's just a couple more steps to top off the base, and he'll be done...
Step 32: Calthan Brown
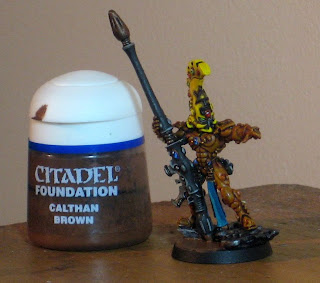 For the dirt.
Step 33: Static Grass
 Glue down some grass on that brown!
 This was to really make that yellow helmet pop, contrasting with the darkened body armor.
Step 8: Charadon Granite
 This was used on the gun and the face-plate as a base.
Step 9: Fortress Grey
 I highlighted the areas based in Charadon Granite. I built bright with the intention of washing down... but first another color that will be washed.
Step 10: Brazen Brass
 For the business end of that Firepike.
Step 11: Badab Black
 Here we go. I washed the gun, faceplate and brass bit on the end. The main colors are mostly done; the rest is all detail work to bring the model more to life.
Step 12: Boltgun Metal
 Normally, I'd wash this area in black as well, but there's a different effect I like for my Eldar metallic weaponry...
Step 13: Gryphonne Sepia
 This was washed over the metal bits. Note that I did not wash this over the tank-treads he's standing on, just the gun's metal bits.
Step 14: Hawk Turquoise
 Adding some color for the groin flags. Sorry, I don't know what else to call them, lol.
Step 15: Bleached Bone / Hawk Turquoise
 The highlight for the groin flags was a 1:1 mix of the two paints.
Step 16: Shining Gold
 This was for the casings around gems as well as for the clasps on the groin flags. Why not, right? Might as well make them the blingest groin flags out there. Haters gonna hate.
Step 17: Codex Grey
 This is a basecoat for the rocks he's standing on.
Step 18: Skull White
 This was drybrushed lightly over the rock. You want an uneven grainy texture to it.
Step 19: Devlan Mud
 This was washed over the gold bits, the rock and the tank tread piece he's standing on.
Ok, let's get started on all those gems...
Step 20: Enchanted Blue
 Basecoat for any blue gems.
Step 21: Regal Blue
 I added a dark upper section to the blue gems.
Step 22: Ice Blue
 A highlight line in the lower section of the blue gems.
Step 23: Snot Green
 GW's scheme for the gems on the helmets were alternating red and green, which I kinda dug. Green gems were based in Snot Green.
Step 24: Dark Angels Green
 This was the dark section for the green gems.
Step 25: Scorpion Green
 This was the highlight line for the green gems. Also, I did the eye-lenses while I had this out.
Step 26: Blood Red
 This was the base for the red gems.
Step 27: Scab Red
 This was the darker area for the red gems.
Step 28: Fiery Orange
 This was for the highlight line in the red gems.
Step 29: Skull White
 I applied a small dot of white in the midst of the dark section of each gem.
Step 30: Chaos Black
 This was for the large rune on his helmet, though you could leave it yellow if you liked the way the previous step looked.
Step 31: Bleached Bone
 This was for those funny little tabs on the wrists and ankles that all the Eldar seem to have. I've been keeping them bone colored across the whole army really for no reason other than consistency's sake.
With the model done, there's just a couple more steps to top off the base, and he'll be done...
Step 32: Calthan Brown
 For the dirt.
Step 33: Static Grass
Glue down some grass on that brown!
Well, there we are, my Fire Dragon Exarch is all painted up and ready to point menacingly at his foes! Tell me what you guys think.


