This last week I told my friend about my various plans and visions to create 6 foot by 4 foot static terrain sets for each of my armies. He asked me "why don't we start tonight?" I started to reply with a list of reasons as to why it couldn't be done just yet ... but ended up making "um" and "uh" noises, as I actually had no real good reasons why I couldn't. So we did.
A quick trip to Home Depot, and we came back with a plank of half inch thick MDF. We would have picked some plywood, but the planks had all bent. MDF was straight as a board, forgive the pun. In order to get it in my car, we had to have it sawed in half ... but the intent here is not to make a modular terrain set, it will be static.
The Vision: An Eldar Maiden world in Autumn. I chose a fall scheme to better represent the Eldar being a dying race. I envision this maiden world as a kind of futuristic park/nature preserve. It is not completely wild, as the world was probably terraformed for future Eldar population. It will have a man-made feel to it, yet still look like a natural, beautiful place.
Below, you can see our drawn out plans for the various hills on the MDF. The board is sitting in the table frame that I made a year ago to hold 6' x 4' terrain sets. It folds up like a briefcase into a 3'2" x 4'2" briefcase so it will fit in my car ... but it's so heavy that I'm not sure I'll be transporting it around any time soon.
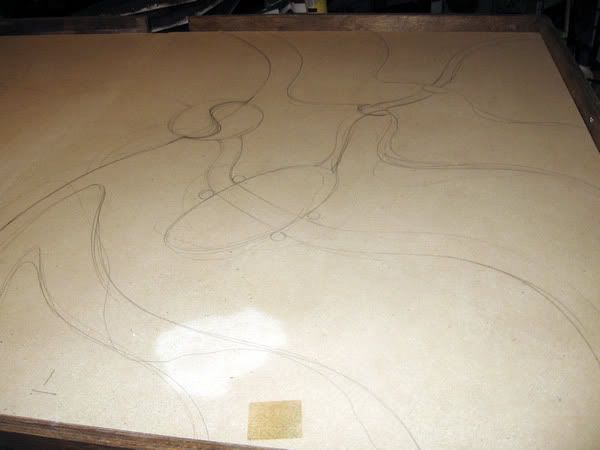
The end of the board pictured above will be multi-level, with a river cascading down a series of waterfalls into a pool. A cobblestone path will come from the other half of the table, up a 2-step stairway in the shape of a yin-yang (Eldar flavor) and over a bridge in the pool before trailing off the side of the board.
Below, the other side of the board.
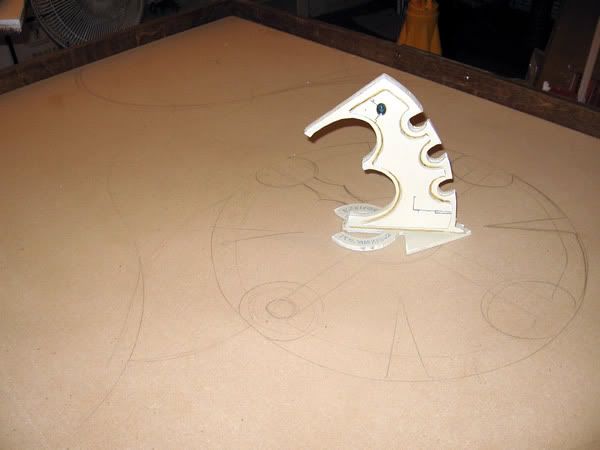
I originally planned on having the Warp Gate from my previous terrain set as a fixture in a courtyard that the path will lead to. I've since changed my mind, and left the courtyard alone. It looks fine without the Warp Gate, plus I've decided to have the Warp Gate as one of my custom Eldar objectives for the two missions using them. More on the Custom Objectives project later.

Above, a view of the entire plan. It's hard to see, but there's another hill in the back left corner.
Now, on to the styrofoam. We cut these pieces with a hot-wire cutter, attempting to stick to our line drawings, and making small adjustments to make it work. These foam blocks were glued down with some PVA (Elmer's White Glue), and a trench was dug out with an X-Acto knife. I wanted the pool bottom to be choppy, so I cut and tore it out with the knife.
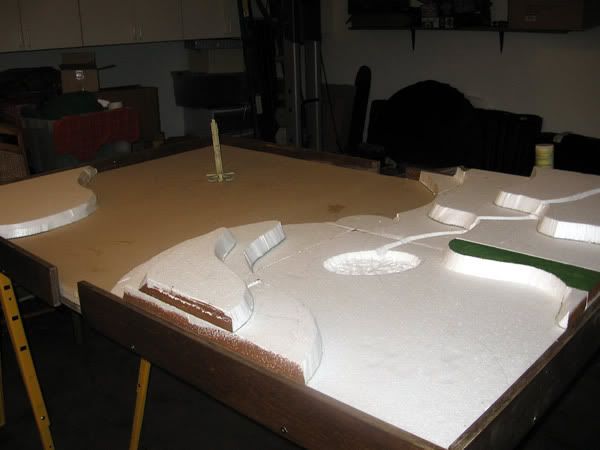
Below is a whole table shot. You can see the yin-yang stepway over in the center.
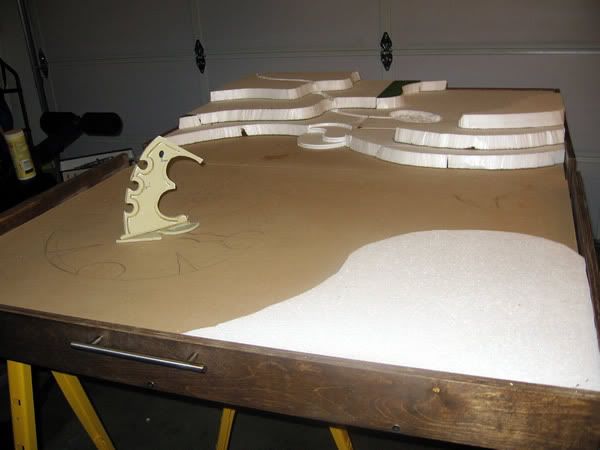
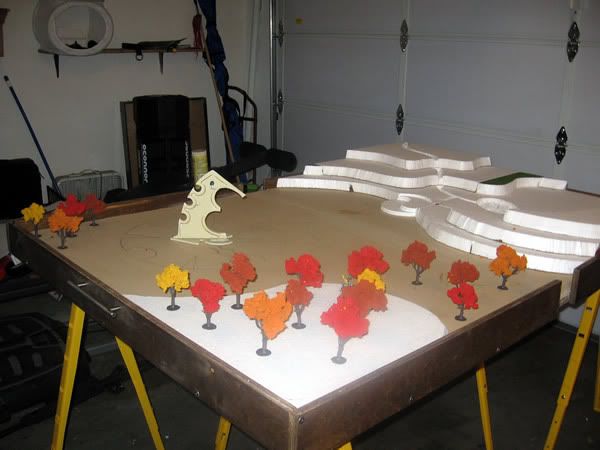
With our basic hills in place, we decided to take what trees we had and plan them out. The trees are from Woodland Scenics. These are the 3" - 5" trees. Woodland Scenics does miniature scenery for Model Train sets. Model train set stuff is an AWESOME resource for 40k miniatures, and you can get TONS of static grass, turf, fake snow in large containers really cheap.
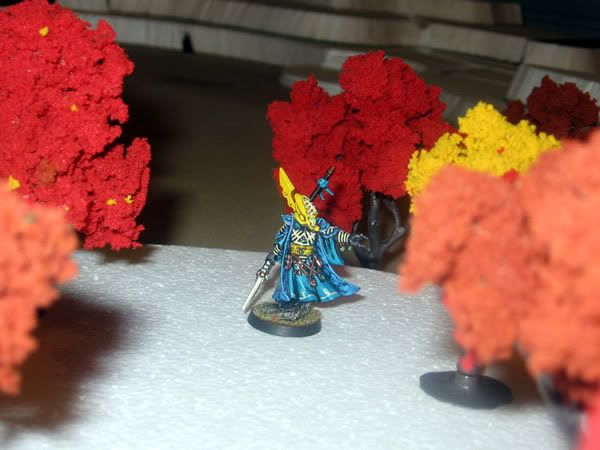
Below is a pic of my Farseer standing among the trees for a size reference. They work very nicely.
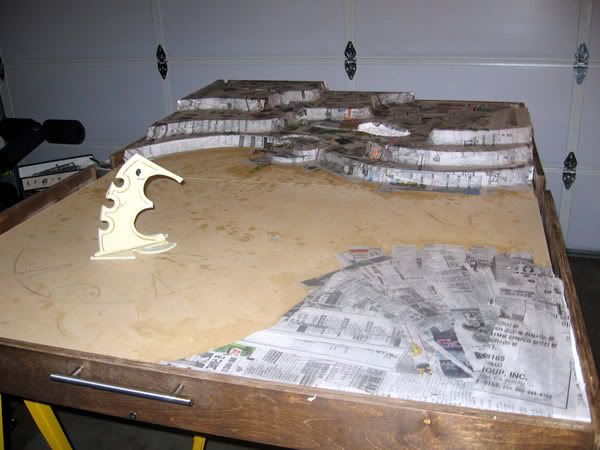
Ok, having planned the tree placement, we applied a layer of Papier-mâché (or simply Paper-mache to most of the USA) over the styrofoam. When hard, it forms a thin concrete-like layer, which will significantly reinforce our styrofoam hills.
Some basic brown interior wall paint. While it does dry fast, there were some areas where it was very thick, so we waited a few hours to make sure everything was dry and ready. The river and pond were also coated in brown with the intent of adding some greens and blues afterwards.
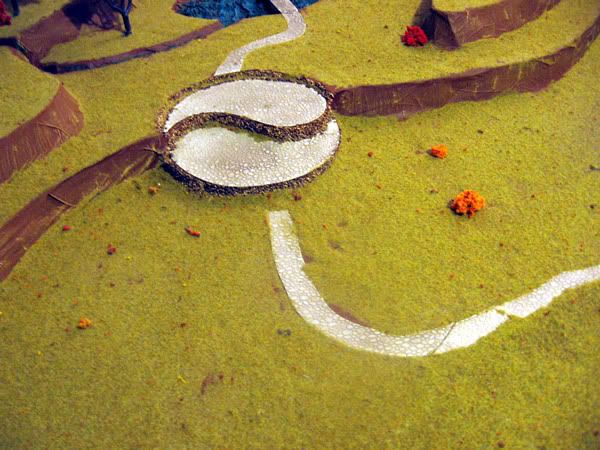
After the paint was down, we set about cutting out the various things that will be cobblestone with some plasticard. Plastruct makes plasticard with various indentations and patterns. The one used here was a round stone. You can see below the Yin-Yang stepway and courtyard were done. The courtyard is a bit smaller than we had originally drawn. This is because the plasticard sheets only came so wide. Also, the trees were glued down.
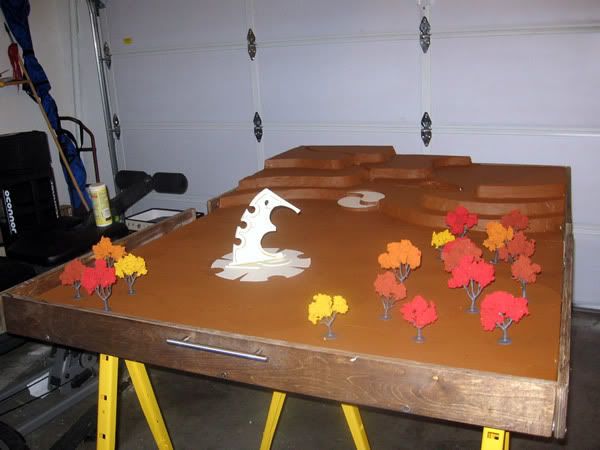
My Alaitoc Falcon Grav-tank mid-field for size reference:
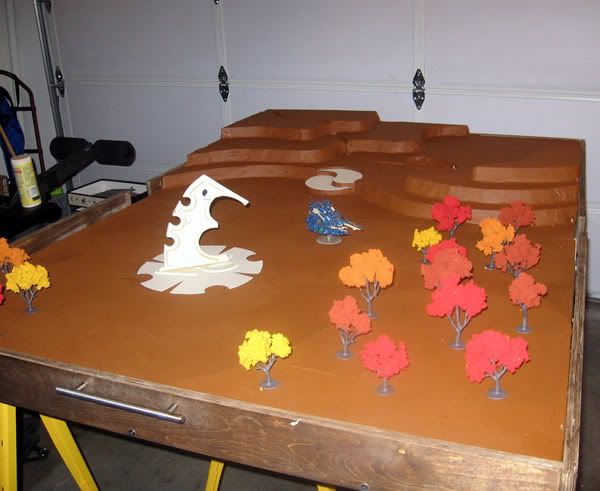
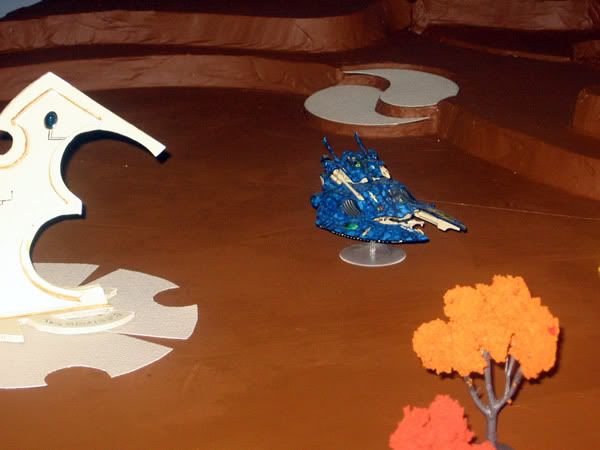
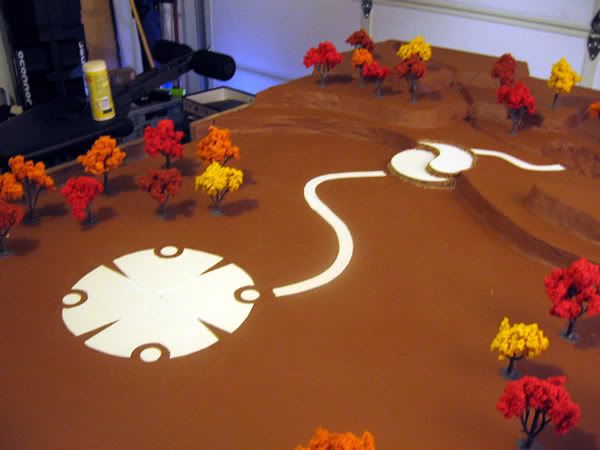
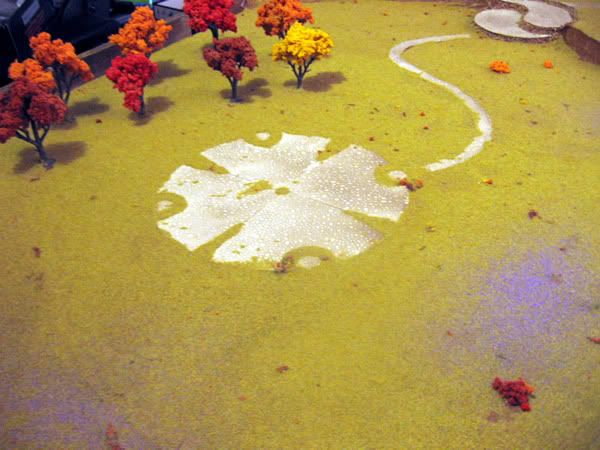
Looking at our board, we decided that we were significantly short on the amount of trees we needed to make this look right. A quick trip to the hobby store, and we had over twice as many trees as originally planned. This is a good thing, as the board was lacking in serious cover. Also, the path was placed down, and I added circular parts to the courtyard to make it look better.
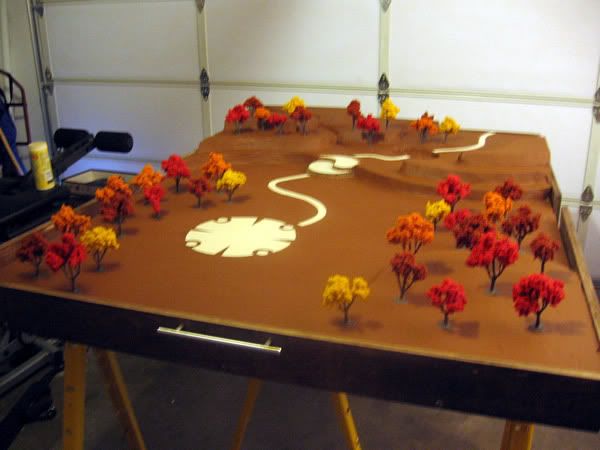
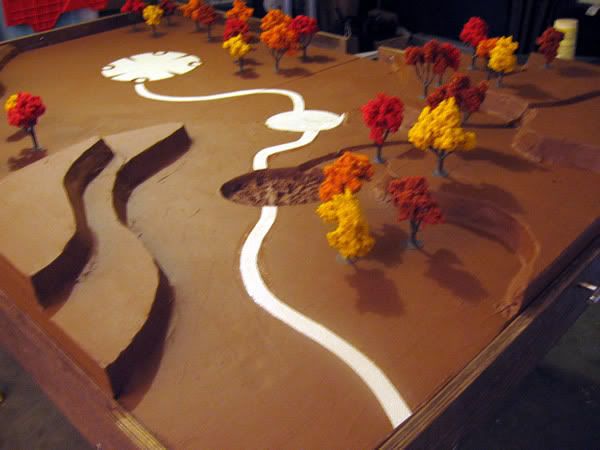
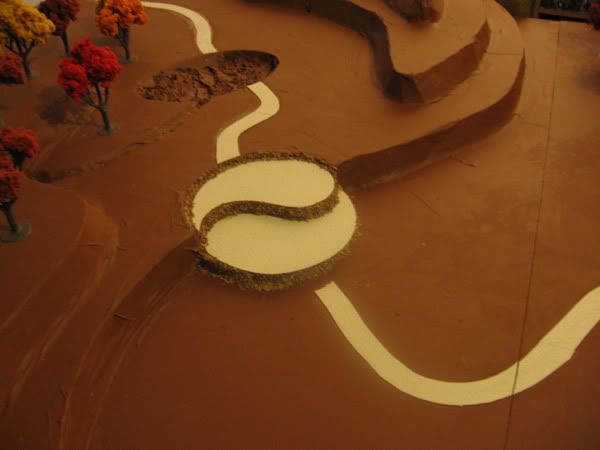
With a little glue, we pasted some rock along the short walls of the stepway, to make it look more man-made and crafted than the rest of the park. The hills were stepped, so they looked manmade as well, but the steps were a part that we felt needed that extra touch.
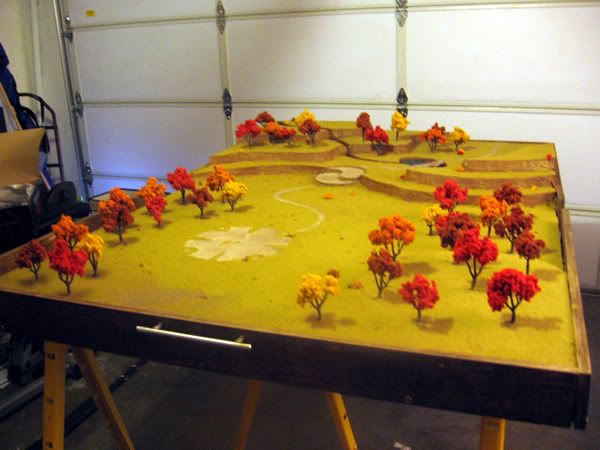
Ok, the next step was a HUGE one. I made a mix of three different shades of static grass (a yellow "hay" color, a bright green, and a burnt green) in order to get a color that went with the autumn theme. We added some dull green turf to that, and some bits of yellow, orange and red in order to look like some of the tree leaves have also blanketed the landscape. Using a large bucket of watered down glue, we painted the terrain in small sections, sprinkling the mixture on top. In a couple minutes, we would blow the excess off, collect it back into the bucket, and repeat with another patch of land. A few hours and some hard breathing later, and we had the following:
In small patches where the grass didn't stick too well, we glued down leftover pieces of the trees that had fallen off in the packaging. These "bushes" added another layer of life to the board. Also, a watered down mixture of Devlan Mud (GW wash) was applied to all the cobblestone plasticard after first coating the plasticard with diluted glue (so the wash would hold)
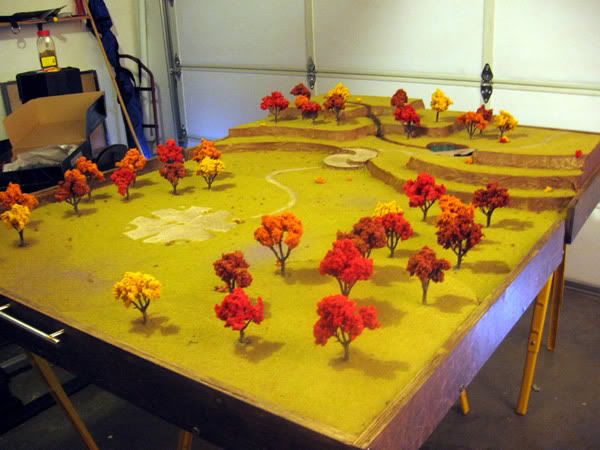
We had a package of a purple powdery substance billed as "wildflowers" for train-sets. Below, you can see a few patches that we applied this to, again to break up the "lawn" and make things look more natural.
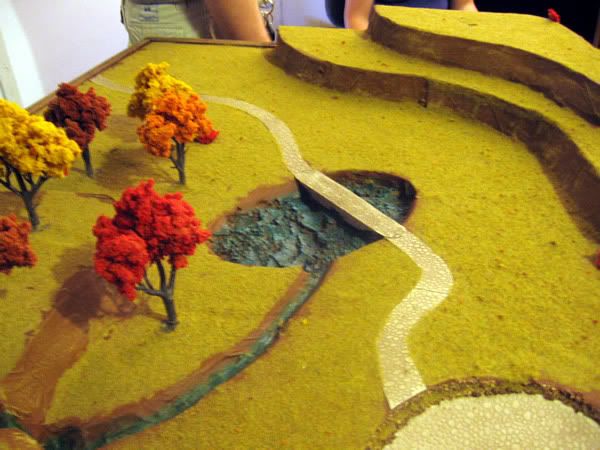
The river and pond were heavily drybrushed with Dark Angels Green, then drybrushed with Hawk Turquoise, then lightly drybrushed with Ice Blue. We had some resin called "Waterworks" from Woodland Scenics that we had planned to pour in there. By exaggerating the pond's floor, I was hoping the resin would pick this up and give the pond a cool effect.
Whole board:
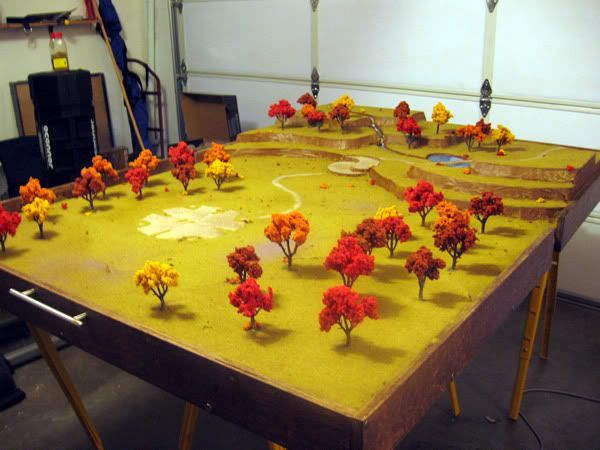
Ok, everything was done except for the water, and the bridge. Before we put that down, however, we emptied two cans of cheap hairspray (make sure yours doesn't say "glossy" or "shiny" anywhere on it) on the grass, trees, bushes and what-have-you. This will harden in about 20 minutes and make it so the grass, flowers and other natural effects do not rub off ... which means it will be perfect for miniatures.
For the bridge, I cut two thin pieces of styrofoam to go in the pond, and placed a strip of the cobblestone on the top. The whole thing was washed in Devlan Mud, and then we poured the resin. My wife had a delighted "giggle-fit" watching the resin pour down our river and waterfalls.
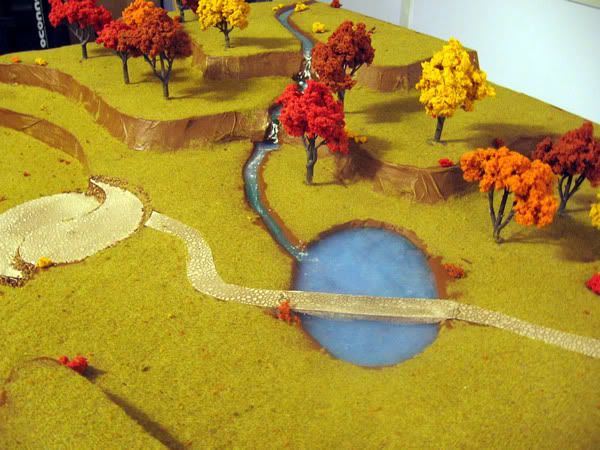
The white rapids you see are another Woodland Scenics product called Water Effects. It's a white paste that you can place and sculpt after the resin's dry or even while it's wet. It will harden. The idea is to make ripples and rapids.

Closeup of the pond with bridge:

And lastly, a picture of my Dark Reapers next to the pond. I had always planned on having the given army's terrain set match their bases, and here's the proof to that. They blend in. It's amazing and awesome.

All in all, the table construction took 3 days from blank board to waterfalls and pond. My friend has suggested that we use those cool Egyptian looking statues on the Dire Avengers Sprue (I have 4 of them) and put one in each of the four circle sections of cobblestone surrounding the courtyard/landingpad/thing. I'm considering it. It definitely wouldn't hurt, but I do like it just fine as is.
As requested, a Shopping List (I don't remember all the prices, though):
1) 1/2" thick MDF board. 6'x4'. I had to have mine cut in two to fit in the car. Would have kept it one whole piece if I could have. Home Depot.
2) 1" thick styrofoam board. I got a 8' x 4' sheet for something like $10 at Home Depot.
3) Trees from Woodland Scenics. I got the 3"-5" Fall color trees. They offer a value pack! The ones I used are about halfway down the page.
4) Stone pattern plasticard. I used Polished Stone by Plastruct. I cut the paths/courtyard out of these sheets.
5) Newspapers (for the paper mache)
6) Lots of PVA glue (Elmer's White Glue)
7) A small can of flat brown interior wall paint (for the basecoat)
8) Tubs of static grass and turf from Woodland Scenics. I made my own mix in a large tupperware container. I used Blended Turf(for some texture), and three colors of Static Grass (all on that page) Harvest Gold, Burnt Grass and Light Green. I also broke up and mixed in some Fine Leaf Foliage (bottom of the page) to get some occasional tree leaves in the grass. (Keep this giant tub around to base any individual models you would like to have matching.)
9) Realistic Water and Water Effects (both on this page) for the river/pond.
10) A couple cans of cheap non-fragrant, non-glossy hairspray (spray over the whole thing when you're done to lock it all in.)
11) some small basing rocks (I used the GW stuff)